
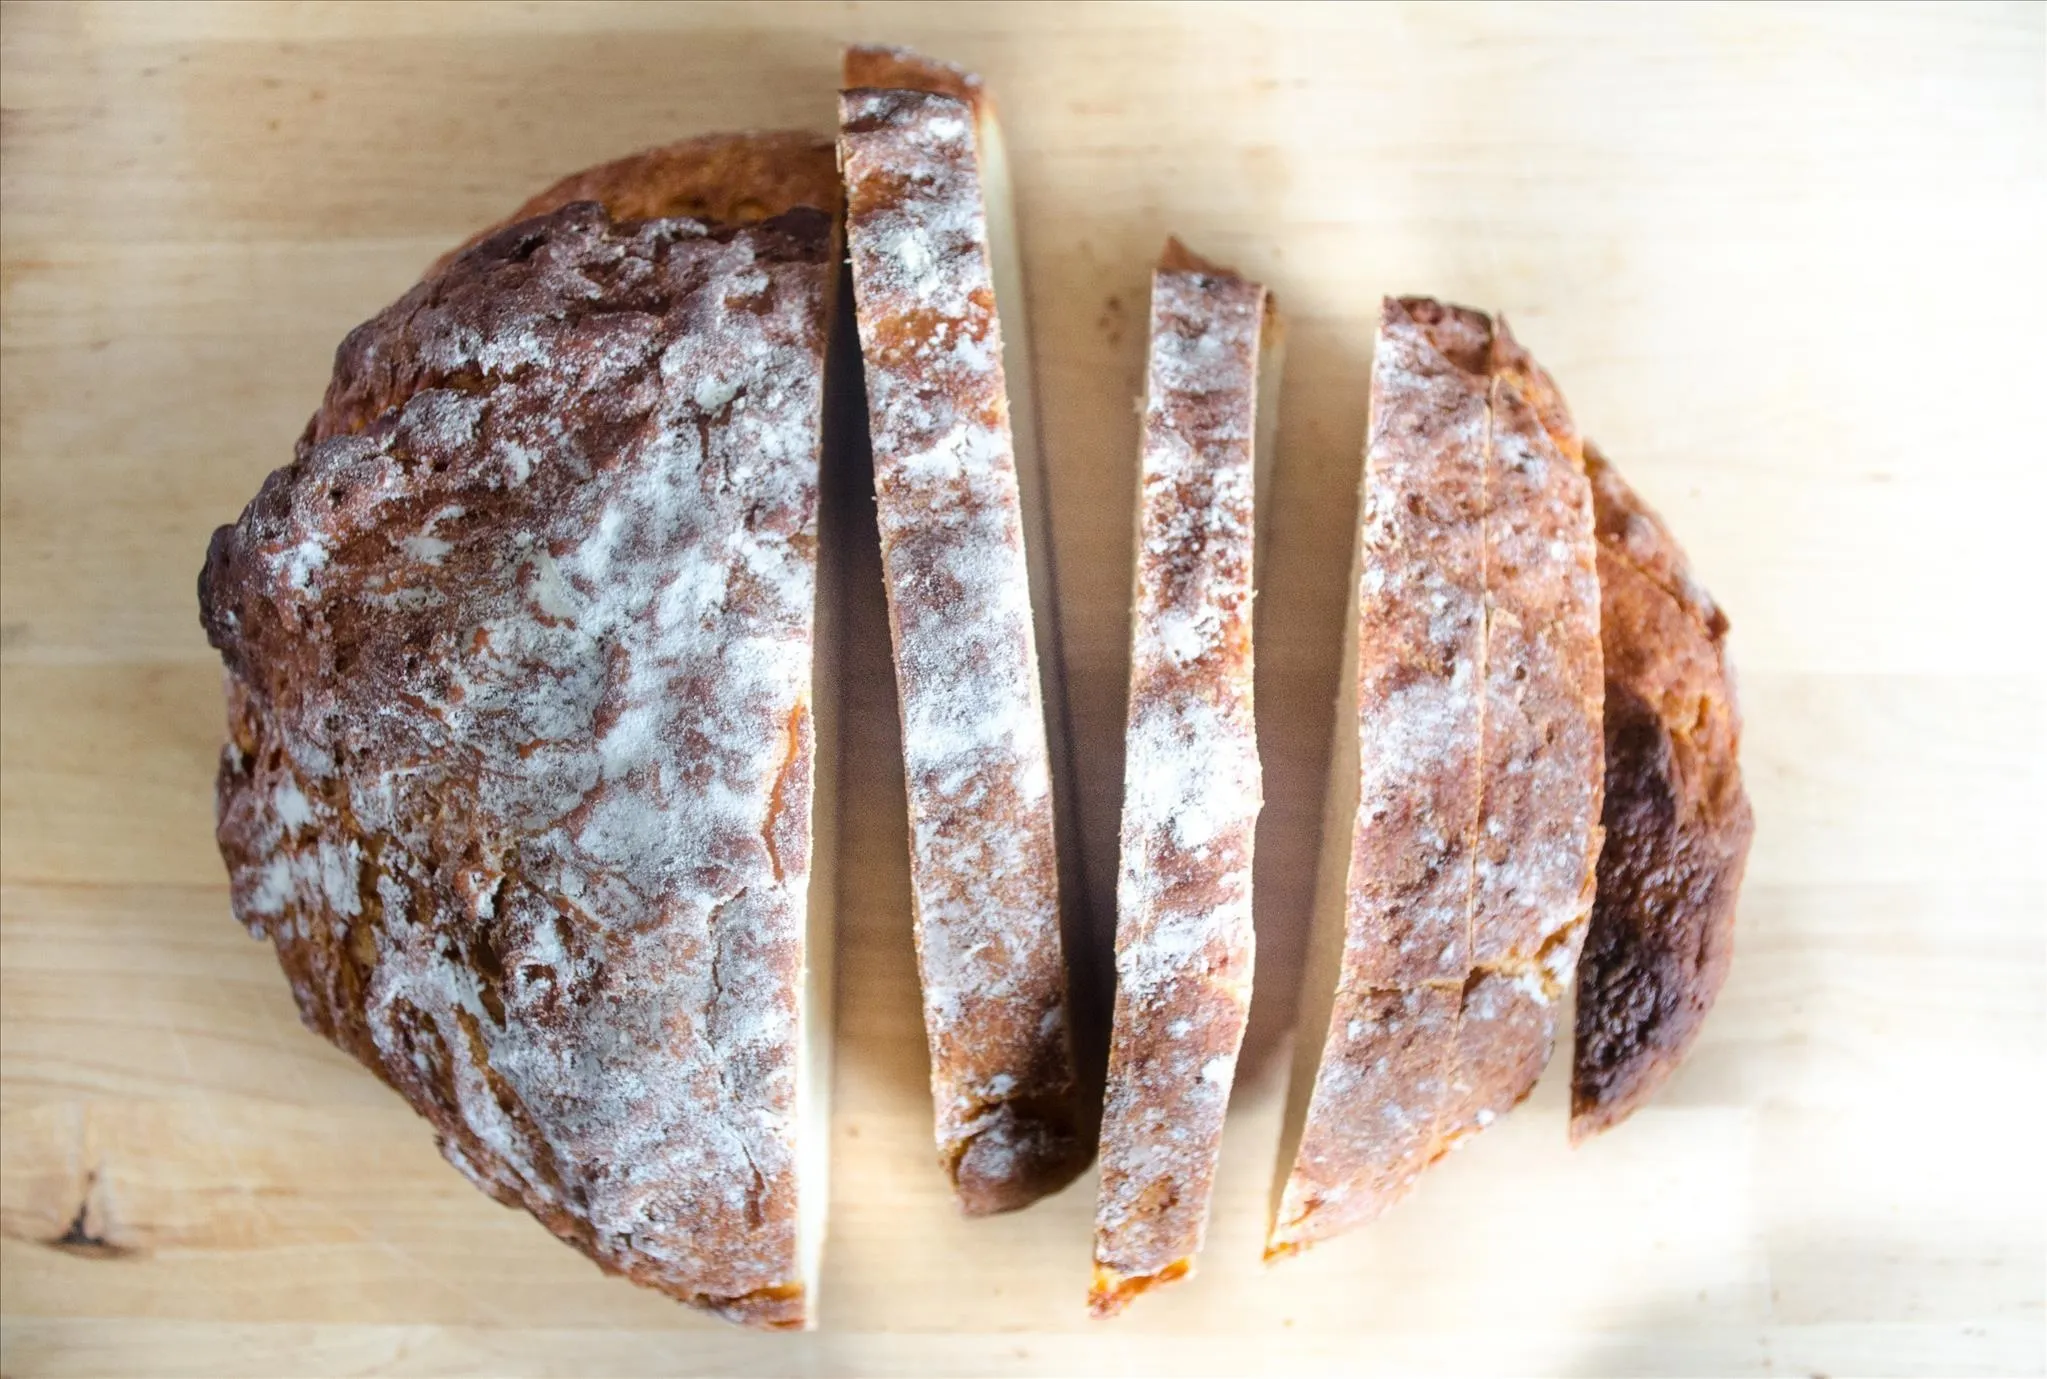
When it comes to baking bread, the quest for the perfect crust is almost as important as the flavor of the loaf itself. It’s that golden, crisp, crackling exterior that often makes the first bite so irresistibly satisfying. But how do you achieve that bakery-worthy crust in your own kitchen? Is it all about the recipe, the technique, or perhaps a little of both?
In this article, we’ll explore the secrets behind creating the perfect bread crust: from the basic science involved to the best baking tools and tips. Whether you’re a beginner baker or someone looking to elevate your bread game, this guide will have you baking loaves with crusts that are as beautiful as they are delicious.
Understanding Crust Formation
Before we dive into tips and techniques, it’s essential to understand how a bread crust is formed. The crust develops during the baking process, starting as a soft dough surface that gradually hardens and browns due to heat. The Maillard reaction, a chemical reaction between amino acids and reducing sugars, is responsible for the color and flavor development in the crust. This reaction occurs at temperatures above 300°F (150°C) and is key to achieving that deep, golden-brown exterior.
But while heat is crucial, the moisture content, temperature, and even the baking environment all play their parts in how the crust turns out. The balance between a crunchy crust and a soft, pillowy interior is an art that requires some understanding of these factors.
1. Use the Right Flour
The flour you choose can make a big difference in the quality of your bread’s crust. Bread flour, which has a higher protein content than all-purpose flour, is ideal for creating a strong dough structure. The high gluten content in bread flour helps trap air during fermentation, creating a bread that rises beautifully and forms a thick, well-structured crust.
For those seeking a slightly different texture, experimenting with whole wheat flour or rye flour can yield interesting crusts with a more rustic feel. Whole wheat flour, for example, tends to absorb more water and can create a denser, chewier texture, while rye flour produces a loaf with a distinct, earthy flavor and a somewhat softer crust.
2. Hydration is Key
Water is your best friend when it comes to achieving the perfect crust. A higher hydration dough (more water) will result in steam during the baking process, which is a crucial component in crust development. Steam helps gelatinize the starches on the dough’s surface, giving it a shiny, smooth finish before it crisps up as the bread bakes.
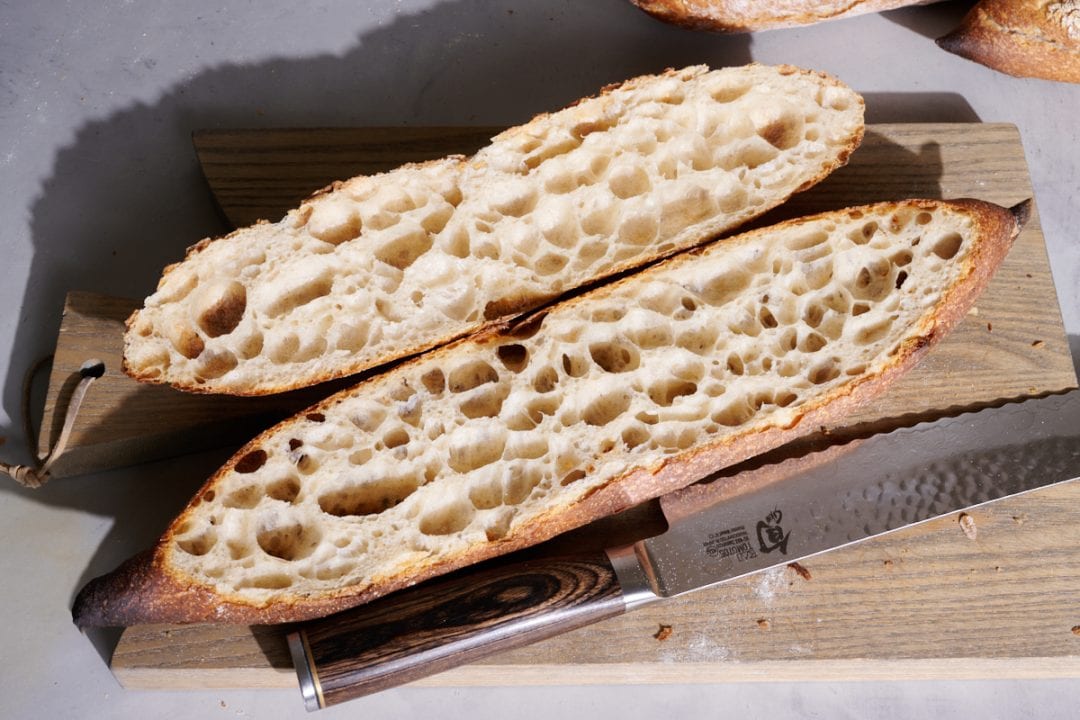
To achieve a high-hydration dough, you might have to experiment with the flour-to-water ratio in your recipe. While most bread doughs have a hydration level of around 60–75%, loaves like baguettes or artisanal bread might go up to 80% or more.
However, the trick with high-hydration doughs is ensuring they’re not too sticky to handle. You’ll need to adjust your kneading technique, often opting for a “stretch and fold” method rather than traditional kneading, to build strength without overworking the dough.
3. Let the Dough Rise Properly
The second crucial component in developing a perfect crust is giving your dough enough time to rise. This is the stage where yeast has its biggest role—producing carbon dioxide that helps the dough puff up. When dough rises properly, it forms a stronger outer shell that will develop into a crispy crust.
There are two main rises: the first being the bulk fermentation stage (where the dough ferments as a whole), and the second being the proofing stage (where individual loaves are allowed to rise before baking). Both are critical for the structure of the bread and the quality of the crust. The longer the dough ferments, the more flavor it develops. Using techniques like retarding the dough in the fridge for a slow fermentation process will often yield better results.
4. Shaping the Dough
How you shape your dough can also affect the final crust. When you shape your dough into a tight, smooth ball or loaf, it creates tension on the surface, which will encourage the bread to rise upwards during baking rather than outwards. This is important for achieving an even, thick crust that envelops the entire loaf.
Make sure not to overwork the dough during shaping; gentle handling ensures that you retain the air pockets inside the dough. Overworking it can result in a denser loaf with a crust that’s not as light and crisp.
5. Preheat Your Oven
This step is non-negotiable when aiming for a perfect crust: always preheat your oven. Starting with a hot oven is key to achieving a crust that’s both crunchy and well-browned. A common temperature range for baking most artisan breads is between 450°F (232°C) and 500°F (260°C).
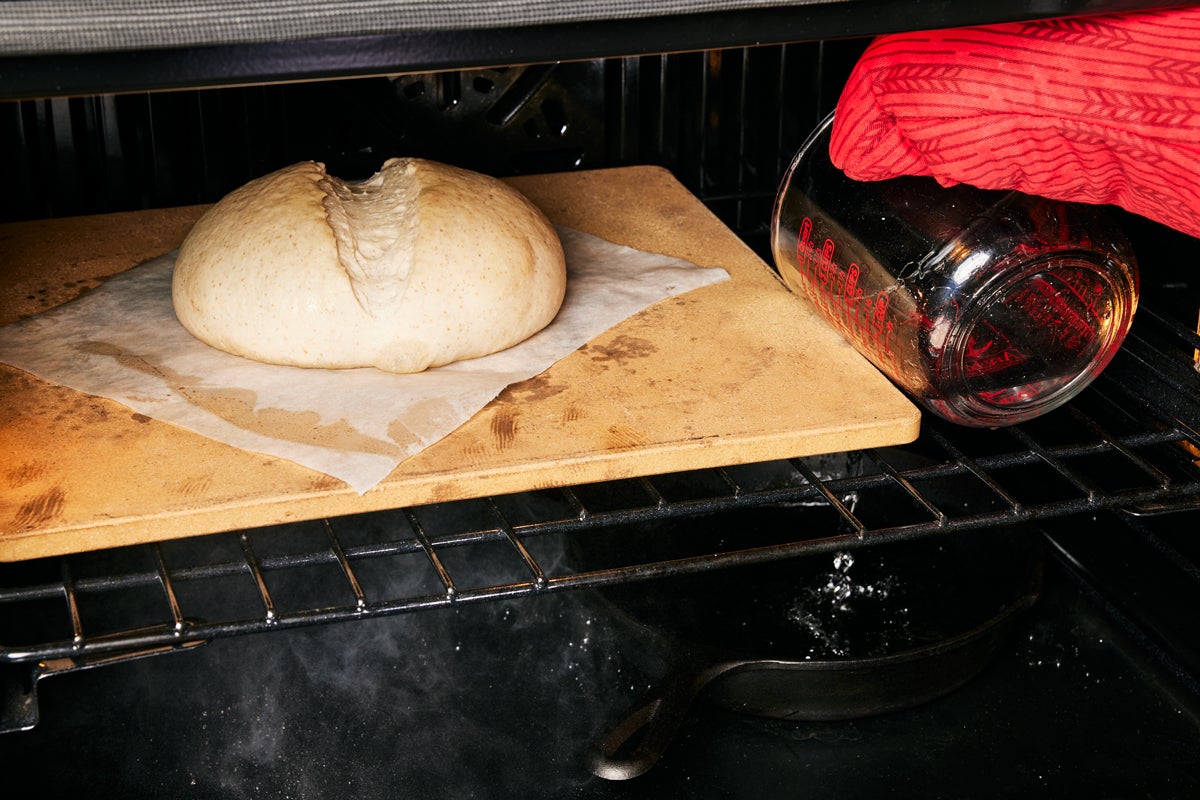
For a particularly crispy, oven-baked crust, it’s best to bake the bread in a hot, preheated Dutch oven or baking stone. These tools help create an environment similar to a commercial bakery oven, where steam is trapped around the bread, promoting a crispy outer layer while the inside remains tender and moist.
6. Use Steam to Your Advantage
Steam is one of the most powerful tools for achieving a perfect crust. As mentioned earlier, steam helps the dough’s surface to stay moist longer, allowing the bread to expand fully before it hardens. This results in a glossy and slightly soft crust that will eventually crisp up as the bread finishes baking.
To create steam in your home oven, you can use a variety of methods:
- Dutch Oven Method: A Dutch oven traps steam effectively, creating the perfect environment for your bread to rise. Simply cover the dough with the lid and bake it with the lid on for part of the time, then uncover it to let the crust develop further.
- Spritzing: Another common technique is spraying water onto the oven’s walls or the bread itself. Some bakers even place a pan of water at the bottom of the oven to generate steam.
- Ice Cubes: For a more dramatic effect, you can toss a few ice cubes onto a preheated baking tray at the bottom of your oven. As they melt, they’ll generate steam that helps your bread rise.
7. Score the Dough
Scoring the dough with a razor blade or a sharp knife before baking helps control how the bread expands in the oven. Without scoring, the bread might burst unpredictably, resulting in an uneven crust. But more importantly, scoring allows for the controlled release of steam during baking, preventing the dough from becoming too dense and creating a crust that’s crisp in all the right places.
When you score your dough, it’s not only functional but also an aesthetic choice. Decorative scoring patterns, like the classic “hashtag” pattern on a boule or a cross on a baguette, add to the rustic beauty of the loaf. It’s all about precision, so make sure your cuts are deep enough to allow for expansion without tearing the dough.
8. Bake With the Right Temperature and Timing
The baking time and temperature are perhaps the most straightforward elements in achieving the perfect crust. As mentioned, most bread should be baked between 450°F (232°C) and 500°F (260°C). The hotter the oven, the quicker the dough can develop a crust without drying out the inside.
Baking time typically ranges between 25 and 45 minutes, depending on the size and shape of the loaf. A good rule of thumb is to look for a deep golden-brown color and an internal temperature of around 190°F (88°C) for a perfectly cooked loaf. You can even tap the bottom of the loaf with your fingers—if it sounds hollow, it’s a sign that it’s done.
9. Cool the Bread Properly
Once your loaf has finished baking, don’t be tempted to slice into it immediately. The crust needs time to fully set and crisp up. Let your bread cool on a wire rack for at least an hour before cutting into it. This rest period allows the residual heat to continue cooking the interior, while the crust continues to harden and develop its final texture.
Conclusion
Achieving the perfect crust on a loaf of bread is a combination of art and science, where every step—from choosing the right flour to properly baking the loaf—plays a role in the final result. By understanding the role of hydration, steam, temperature, and even your shaping techniques, you can bake bread that rivals what you find at your local bakery. The key is practice, experimentation, and a little patience. In time, you’ll discover the methods that work best for you, and soon enough, you’ll be pulling loaves with crusts so perfect, they’ll make even the most experienced bakers jealous.